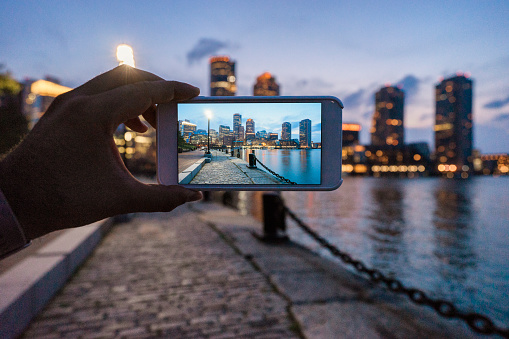
8 Amazing Tips To Take Awesome Photos With Your iPhone
Smartphone technology and the internet have made it possible for us to share ideas—and do business—with people all over the world. Learning to use the powerful tools we have at our fingertips more effectively is one of the most significant challenges of our time. Today’s consumers aren’t just looking for products—they are seeking mutually beneficial long-term connections. No matter what your business is, you can increase your sales by using photos to share information about your products, your company, and most importantly, yourself.
How to Get to the Camera Quickly and Never Miss a Shot
The perfect shot never lasts very long. That’s why there’s more than one way to get to your iPhone camera. The fastest, easiest way is to just swipe left after waking the phone. If you are already in another screen, swipe up to get to the control center where the camera icon is located. If you don’t have a camera icon in your control center, you can add it in three easy steps by going to settings, choosing “customize controls”, then choosing “add camera”.
How to Snap a Photo
You can snap a photo by pressing the home button (aka shutter button) while in the camera app. However, trying to hold the phone still while maneuvering your hands towards a button located near the bottom of the screen can be difficult. Luckily, once you have the perfect shot lined up, you can also use either of your volume buttons located on the side of your iPhone to snap the photo. Being able to use whichever method is easiest to access can mean the difference between a good shot and a great one.
Object Placement, Composition, and Symmetry
Your iPhone camera comes equipped with a grid to help you line up your shots more accurately. The grid is also a useful tool for creating more balanced compositions because it breaks the available space into separate parts. To utilize the grid, go to camera settings, find “grid”, and enable it by swiping the radio button to the right until it turns green.
HDR—High Dynamic Range
The right lighting is often difficult to achieve, but the HDR setting on your iPhone camera can help. This setting allows to you reduce distortion of light and dark in photos taken where there are high-contrast light sources. It also helps reveal more details in both light and dark areas. HDR uses a process of shooting several frames in rapid succession, then merging them together to achieve the best effect. In camera settings, the HDR option will be near the bottom. Make sure the “Keep Normal Photo” option is switched on, so your camera will save both versions of your photo.
Automatic Focus and Exposure
Once you have the shot you want, it’s time to lock your focus. To do that, just tap and hold the focus box. When the yellow AF/AE circle slider appears, press it to lock the focus. If you want to adjust the exposure, drag the yellow exposure slider to the right side of the focus box. You will then be able to slide it upwards to increase exposure, and downwards to decrease it.
Camera Modes
Burst mode allows you to take ten photos per second, ensuring that you get just the right one. To go into burst mode, simply hold down the shutter button for a half a second or longer. Portrait mode is perfect for close-up photos that focus on human subjects and don’t require depth of field. This mode also has several special lighting effects, including studio, contour and stage lighting that you can apply either during the shot or afterwards. While the digital simulation of a shallow depth of field may not yield the professional results that a DSLR (Digital single-lens reflex) camera can, the results can still be amazing.
Lighting Effects
The studio light effect enhances highlights. The contour effect creates a dramatic shadow effect. The stage light effect darkens the background. The stage light mono setting transforms a color photo into a black and white photo. To apply any of these special lighting effects afterwards, just press the edit button.
Live Photos
The Live Photos feature. Available on iPhone 6s and newer, creates shots that are part photo and part video. Like video, it can capture both movement and audio. To activate this feature, just tap the circles icon in the camera app. You can then apply different effects to your live photo shots, such as bounce, loop, or long exposure. To access them, just swipe up while you are in Live Photo. Loop plays, then repeats the video, using a dissolve transition. Bounce plays, then reverses, the video. Long Exposure combines all the frames into one blurred image, which is great for moving water shots.

These eight tips can help you take better photos with your iPhone camera. But don’t forget that your iPhone also has a front-facing video camera. While photos can capture beautiful moments, some of the best memories your customers will have of your business are the ones you create together. The video camera is excellent for either FaceTime or Skype, both of which provide almost all the benefits of speaking in person. You’ll be able to look into one another’s eyes, see one another’s emotional reactions, and transform puzzled expressions into “Oh!” moments.
Using photos on Snapchat or Instagram, you can introduce your friendly, highly competent staff as well as new products and services. Video capability provides a way to show your customers not just your finished products, but the processes that created them. Affordable prices, quality products, and superior customer service are all important elements of any successful business. However, all other things being equal, the ability to make and maintain genuine human connections is the one element that can guarantee not just short-term profits, but future returns.


